Importing your subscribers into Bento
If you’re moving to Bento and not starting entirely from scratch then you're going to want to import your subscribers. Here's how:
First of all make sure you’re on the People > All Visitors page and then click the Import Subscribers button which will open a modal. In the modal, under Import Data, click Get Started.
Next you'll need to select a command, but you'll have a number of options to choose from:
- Create or find and merge: This option will either create a subscriber if the contact doesn't exist in Bento, or if the contact does exist, Bento will merge the data in your CSV with the data currently held for the contact in Bento. It's important to note that if there are changes to existing contact data in Bento within your file, the data currently in stored for the contact in Bento will be overridden with the new data in the file you're importing. Also, this option won't resubscribe an existing contact.
- Subscribe: Select this option if you either wish to add new subscribers or have unsubscribed contacts in Bento that you want to resubscribe.
- Unsubscribe: Select if you have subscribed contacts that you want to unsubscribe.
- Validate: Bento will run a more aggressive spam check against your contacts based on patterns we've seen in the wild (I.E. emails that are 50 characters long or contain many numbers). If your contact passes the spam check, they will be marked as "Validated" and will have a blue tick next to their name in their profile.
For our scenario of importing new subscribers, we're going to select Create or find and merge. Once you've selected an option, click Select Command.
Before we import any data, let's run through some of the options you have for your column headers:
- First & Last Name: To add a contact's name to their profile in Bento, you'll need to add "first_name" and "last_name" columns to your CSV.
- Tags: You can add a single tag or multiple tags to your contacts (see how to separate multiple tags below). You can read more about how to use tags in Bento here and how to keep your tag names organized here.
- Custom Fields: We highly recommend making use of custom fields in Bento as they help you describe who your contacts are in more detail. Custom fields have a key and value, with the key being your column header and the value is given to each individual contact where relevant (the first & last name example above is classed as custom field).
- Dates as timestamps: If you want your dates to be formatted as a timestamp, you can either end your header name with _at ("last_visited_at") or date ("birthday_date").
You can also separate your tag values by a couple of different options:
- Separating values by comma: customer,lead,friend
- Separating values by plus: customer+lead+friend
Now that you've got your CSV nicely formatted and ready to go, you can go ahead and import it by either dragging and dropping your file into the drop zone or by clicking in the drop zone and selecting your file.
If you would like to see an example file, click on the handy "Download a sample CSV here" link within the modal.
Note: Only .CSV files are accepted for imports.
Once you've done that you'll see a preview of your file:
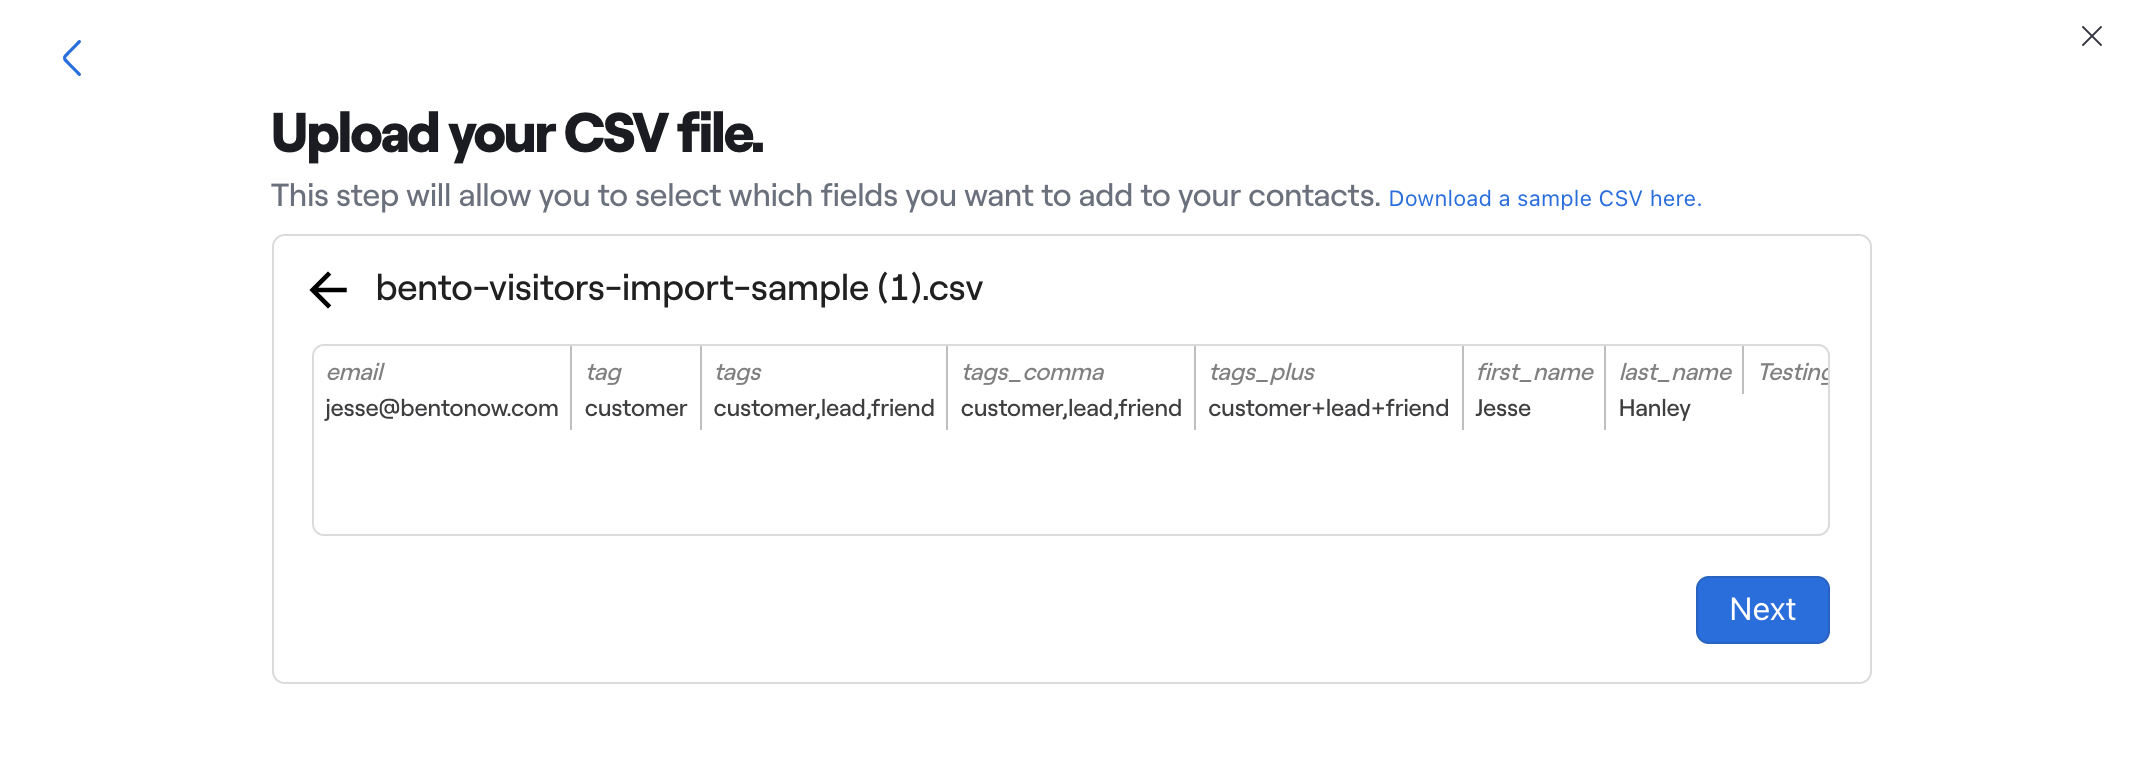
If the preview looks good, click Next.
Next you’ll be able to select or remove the fields you want to add to your subscribers. You can do this by clicking the ‘x’ on the fields you want to remove. If you happen to change your mind after removing a field and want to add it back in, you can do so by dragging the column to the relevant placeholder:
Once you're happy with your fields, click Next and then Review.
This step is your final review, read the important note, check the number of contacts Bento will import matches the number you’re expecting, and if you’re good to go, click Begin Upload.
Once your upload is finished, click View Results and from there you can view your import under Recent Tasks:
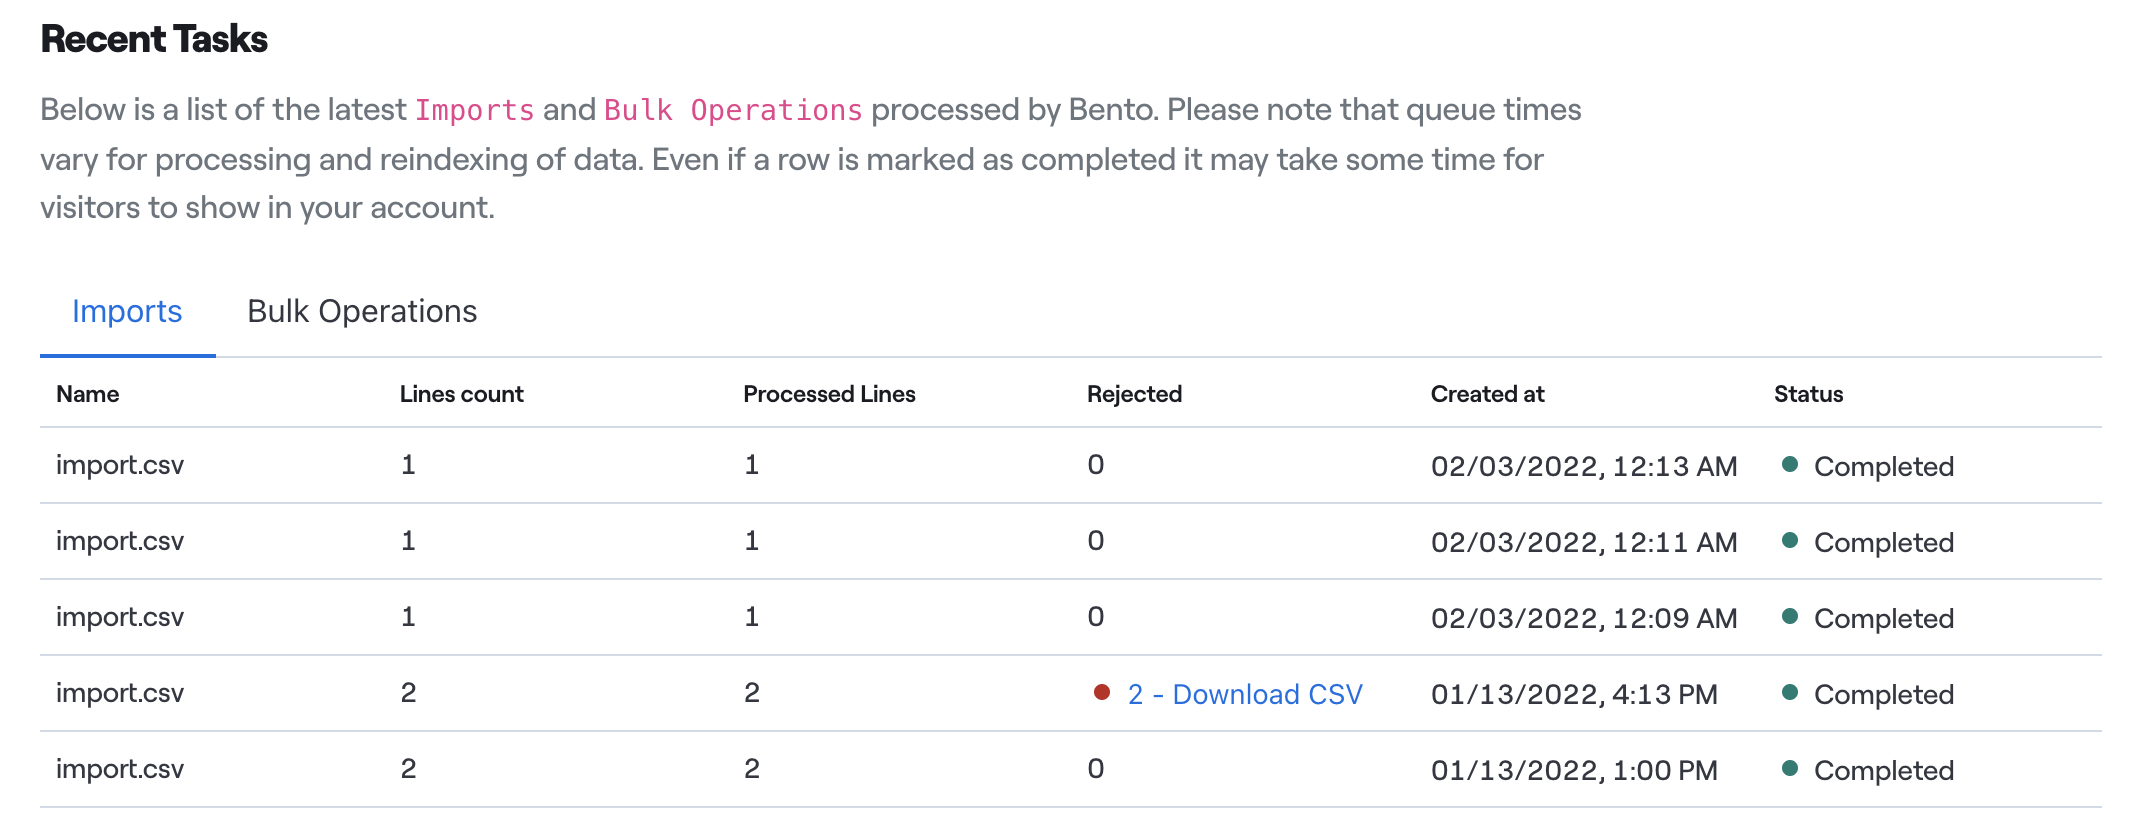
If you notice that you have contacts that have been rejected, Bento will provide a downloadable CSV containing those rejected contacts and a reason for rejection appended.
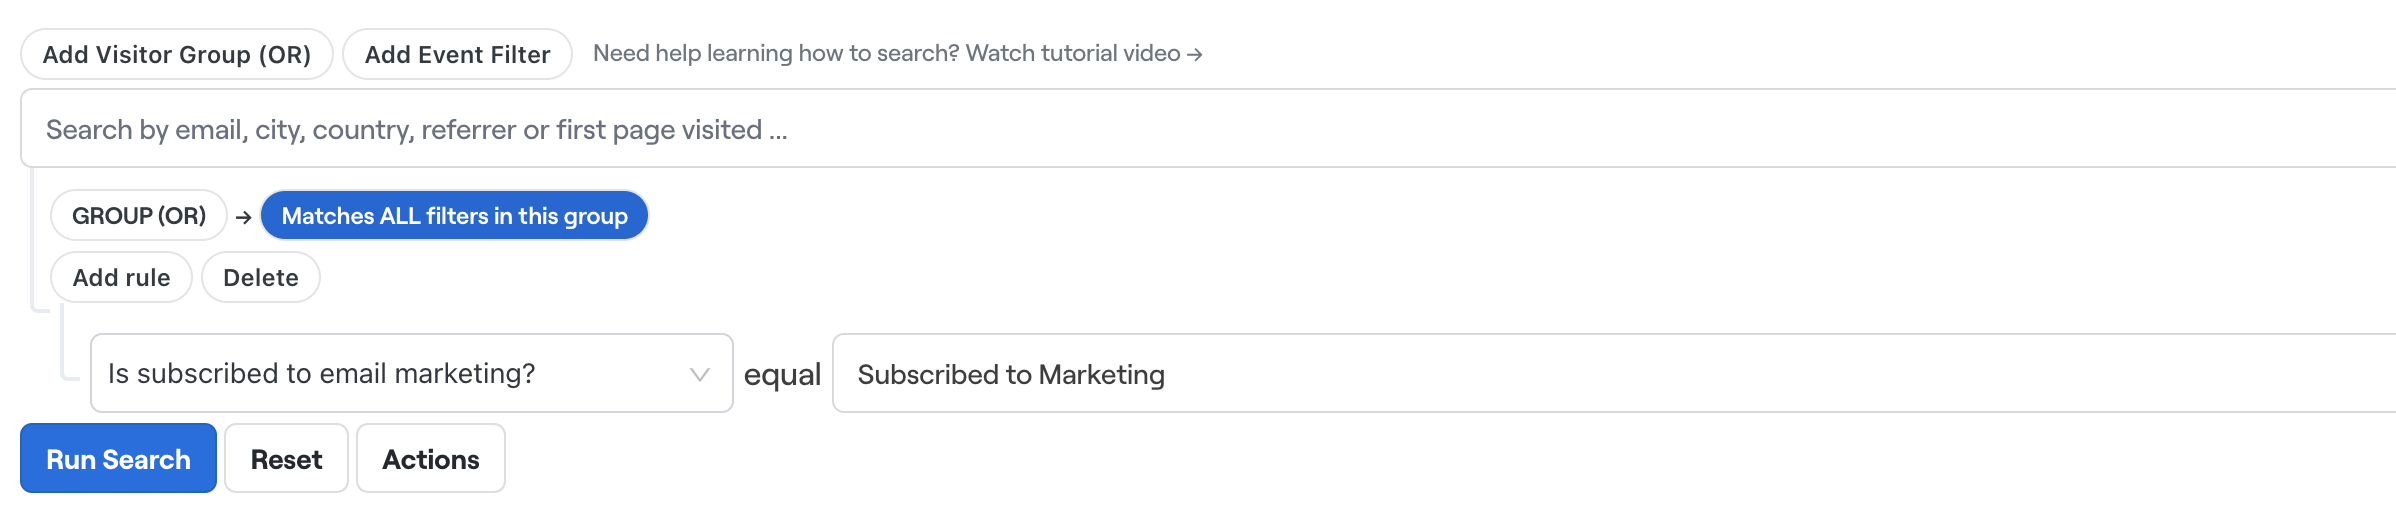
Now we have our first batch of subscribers in Bento, you can view them by navigating to People > Subscribers. Alternatively, if you're on the All Visitors page, you have a couple of options. First, to view new subscribers you can click Show Segments at the top of the table and then click New Subscribers. To view all of your subscribers, you can do so by searching/filtering your visitor list by subscribers only. To do this click Add Visitor Group (OR) and then in the dropdown that appears, select Is subscribed to email marketing? and then leave the equal to option as the default Subscribed to Marketing.